


Scarpa Alien 1.0 Cuff Mod
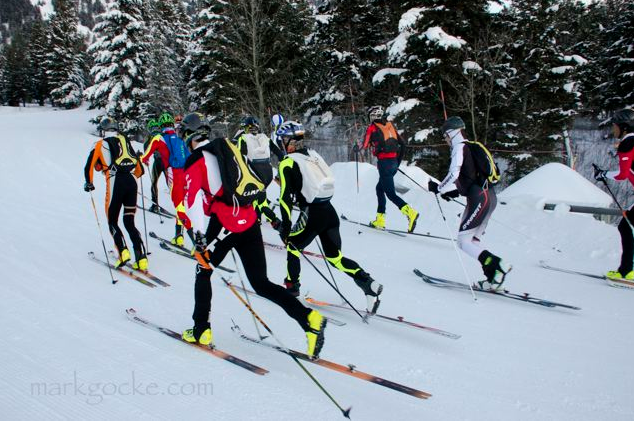 The ubiquitous green Alien boot seen at every skimo event in the world.When I first got my new Scarpa Aliens early last season and skied them for the first time, it became quickly apparent that the stock liners were not going to work for me. Scarpa tends to run a fairly high volume last on all their boots and the Alien is no exception. For my skinny-ass feet and a svelte race liner, this combo sucked. It was painful when I cranked the cuff tight enough to ski effectively and also ensured that I would not survive the 10,000 meters of climbing and descending promised at the Pierra Menta.
 Not the only top of the line race boot but certainly one of the best.Rumaging through my stuff I found my old stock TLT 5 P liners that I had switched out for Intuition Pro Tour liners a few years ago. Turns out, the TLT liners, while still plenty light, provided just enough bulk and protection I needed to make the Aliens work. And indeed they did while causing no other volume related issues with the boot itself. Unfortunately, the liners imploded after a couple of long tours in the Argentiere while I was hanging in Chamonix last spring. I wore a hole through the heel of the liner which then wore a hole through my heel. Ouch. Into the trash they went.
Although it's unlikely that I'll race much anymore, I still favor the gear for long fast and light tours in the mountains. So, I ordered a pair of Dynafit PDG liners, thinking they would be a similar weight and bulk as my others. Unfortunately, while they fit into the shells just fine and the cuff closed without a problem, the cuff overlap would misbehave when in walk mode and the overlap would reverse when the heel lever was thrown. It seems the greater liner bulk was somewhat incompatible with the shell design. This isn't a huge problem if you fiddle with the cuff as you throw the lever but with a race suit where the cuff is inaccessible, it's a problem. Downhill ski performance is negatively impacted.
After giving it some thought, it seemed that extending the smaller cuff flap would solve the problem. I fiddled with it a bit and came up with the solution - 0.06 mil Lexan riveted to the cuff with hammer rivets.  .06 Lexan sheeting with protective covering in place
After cutting a 4 by 11 cm piece I molded the plastic using a heat gun so that it countoured nicely around the cuff.


Next, I positioned the piece on the cuff and marked both for drilling.


Getting the boot flap in place to hammer the rivets in was the biggest fiddle of the project. The carbon fiber material is completely unforgiving so you have to completely support the underside as you set the rivet.


Lexan is nearly unbreakable so I'm thinking the mod will be robust. I'll report back with any failures should they occur. I'm also interested in any suggestions from readers of better ways to do this. I'm living in isolation up here so pipe up with any good ideas.
 Gear
Gear
Reader Comments (6)
Is there anything special or different about drilling through carbon fiber? I am thinking of getting a pair of light weight skis with carbon fiber, but I was wondering if I could drill rescue holes in them without any trouble. I have done this in the past with fiberglass skis, but I have never worked with carbon fiber before.
Hey Mike,
The extent of my experience with carbon fiber is what you see in these pages. I did the above work on the boots, drilled out tips of skis for skin bungee and mounted my carbon Volkls with inserts. None of those projects presented any additional challenges besides summoning the courage to drill into an expensive material. Piece of cake.
Excellent. Thanks for the input. Seems like it should be no problem to drill tip and tail holes.
Mike,
This is an older post but still applies. I don't do it much differently these days. I like finishing these cut outs with epoxy. Looks super pro and likely prevents any breakdown of the cut surface and potential intrusion of water into the material.
http://www.skimolife.com/journal/2011/10/28/trab-skin-attachment-mod.html
The race style skin slot looks pretty nice. Maybe I am old fashioned, but I still like standard rescue holes. I like the option of building a rescue sled and I am planning on using the tip and tail connections from an old pair of K2 skins to make mohair skinny skins for long approaches. I have not tried this before but got the idea from Luc Mehl's website. Seems worth trying. My plan is to epoxy in some metal grommets to seal the holes and protect the epoxy from wear.
http://thingstolucat.com/fast-and-light-winter-travel/
Doubt you'll need the metal in there although I don't know what material will be interfacing there. Certainly bungee cord on my rigs wears nothing.
Rescue sled...hope I never need one of those. Nice to have the option, I guess, but the likelyhood of needing it is quite low. Can't say I've ever known anyone that's fashioned one. Truth be told I couldn't. Kinda like the old "Ten Essentials". Nice to have when you need them but no one I know carries them.
I probably don't need the skimo bungee rip set up anymore since I don't really race but it's an old habit that I'll likely not break. It's definitely lighter and simply than any of the tip and tail set ups that most run. Frankly, tail hooks are completely unnecessary. They just add bulk, weight and complexity to transitions. I used them for a bit when I first got up here and then just cut them off. I need to maintain my glue on the tail of skins a bit but I don't mind that trade off. I love how simple and light skins are without them. Skins on transitions are so much easier when you can just jam your tails in the snow and put skins on.